Lesson 8 · 8 min
Capturing a Complete Set
Wide, medium, close, detail and vertical: why you need all five types, and how many shots to aim for.
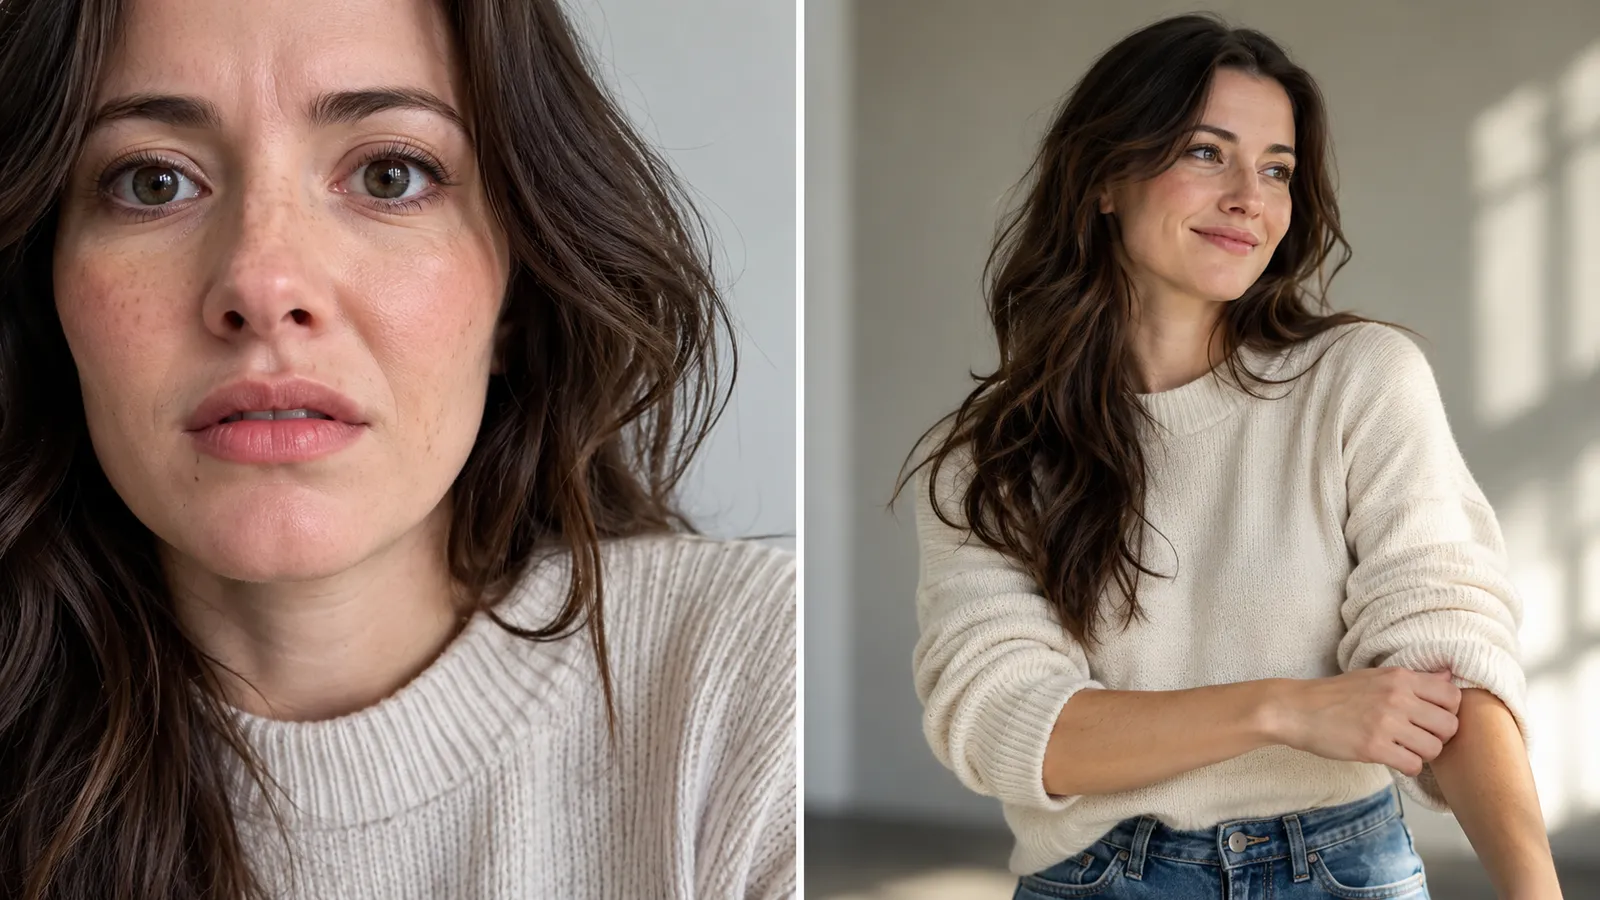
In this lesson: the five types of shot that, together, tell the whole story of a booking. Why it matters on an HNC shoot: a client is not buying one photo, they are buying a set. Fifty near-identical frames of the same pose do not tell a story, but five different kinds of shot of each important moment do. This is how you leave an hour's shoot with a set the client is delighted with.
The five shot types
- Wide. Shows the whole scene with the people in it, where they are and what is around them. It sets the scene, like an opening shot in a film. Step back, or use the 0.5x/1x lens for scenery (not for faces close to the edge, remember lesson 3).
- Medium. Shows a person from the waist up or a small group. It shows who is there and what they are doing, with their gestures and clothes. This is the shot most clients will use most often.
- Close. A head-and-shoulders shot or a face. It shows how they feel: the smile, the eyes, the emotion. Remember 4 to 6 feet and the 2x lens, not walking in close (lesson 3).
- Detail. A small thing that matters: hands holding a gift, a ring, the cake, shoes, a graduation tassel, a child's hand in a parent's. Detail shots tell the client, "I noticed what mattered to you." They are usually the photos people frame and share.
- Vertical. A tall, phone-shaped frame (9:16) made for reels, stories and social media. It is not just a wide photo turned sideways. Frame the subject so that the top and bottom of the tall picture are used well, and keep key things away from the very top and bottom, where an app's text and buttons will sit.
Why you need all five
Each type does a different job, and each one fails without the others:
- Only wide shots: the people look tiny and you can't see any feeling.
- Only close shots: there is no context, and every picture looks the same.
- No details: the set misses the little things that make it personal.
- No vertical shots: the client cannot post to stories or reels without cropping.
- No medium shots: the set has no everyday, usable photos.
Together they give an editor, or the client, variety, which is what makes a set feel complete and professional.
Cover each priority, not just the scene
In lesson 7 you confirmed three priorities. Take all five types for each of them. If the first priority is "family portrait", you take a wide of the family in the setting, a medium of them all together, a close of two of them, a detail (the hands, the matching shoes), and one vertical version of the portrait.
A short routine for each moment: wide, medium, close, detail, vertical. Do it in that order, in a minute or two, and move on.
How many shots to aim for
Aim for variety and quality, not a number. As a rough guide (not an HNC rule) for a one-hour session:
- Take roughly 80 to 150 frames in total. That is a few frames of each type, for each priority, plus a few spares.
- Deliver the strongest 20 to 40, edited. Choose the sharpest, best-lit, best-composed frames that cover the client's priorities.
- For each moment, take 2 or 3 frames, not 30. One or two will be the best expression and the sharpest.
Keep the pace of the hour in mind: if you take 300 frames, you spend the editing time deleting instead of editing.
Review as you go
Halfway through the hour, scroll back through what you have. Ask:
- Do I have all five types for each of the three priorities?
- Are the faces sharp and bright?
- Is there a vertical for the client's reel or story?
- Is anything missing that I'd regret at the end of the hour?
Fixing a gap at the 30-minute mark is easy. Fixing it after the client has left is impossible.
Common mistakes and how to avoid them
- Fifty near-identical frames. Move or change the shot type every few frames.
- Forgetting detail shots. Look for hands, objects and small moments.
- Never shooting vertical. Make a vertical of each important moment.
- Skipping the wide shot. Get one wide frame of each location first.
- Shooting only the group, never the individuals. Include medium and close shots of each person.
- No review. Check your set halfway through.
Key takeaway
For every priority, get a wide, a medium, a close, a detail and a vertical: five different shots tell a story that one shot cannot.
Want to save your progress? Sign up as a photographer.